
Introduction
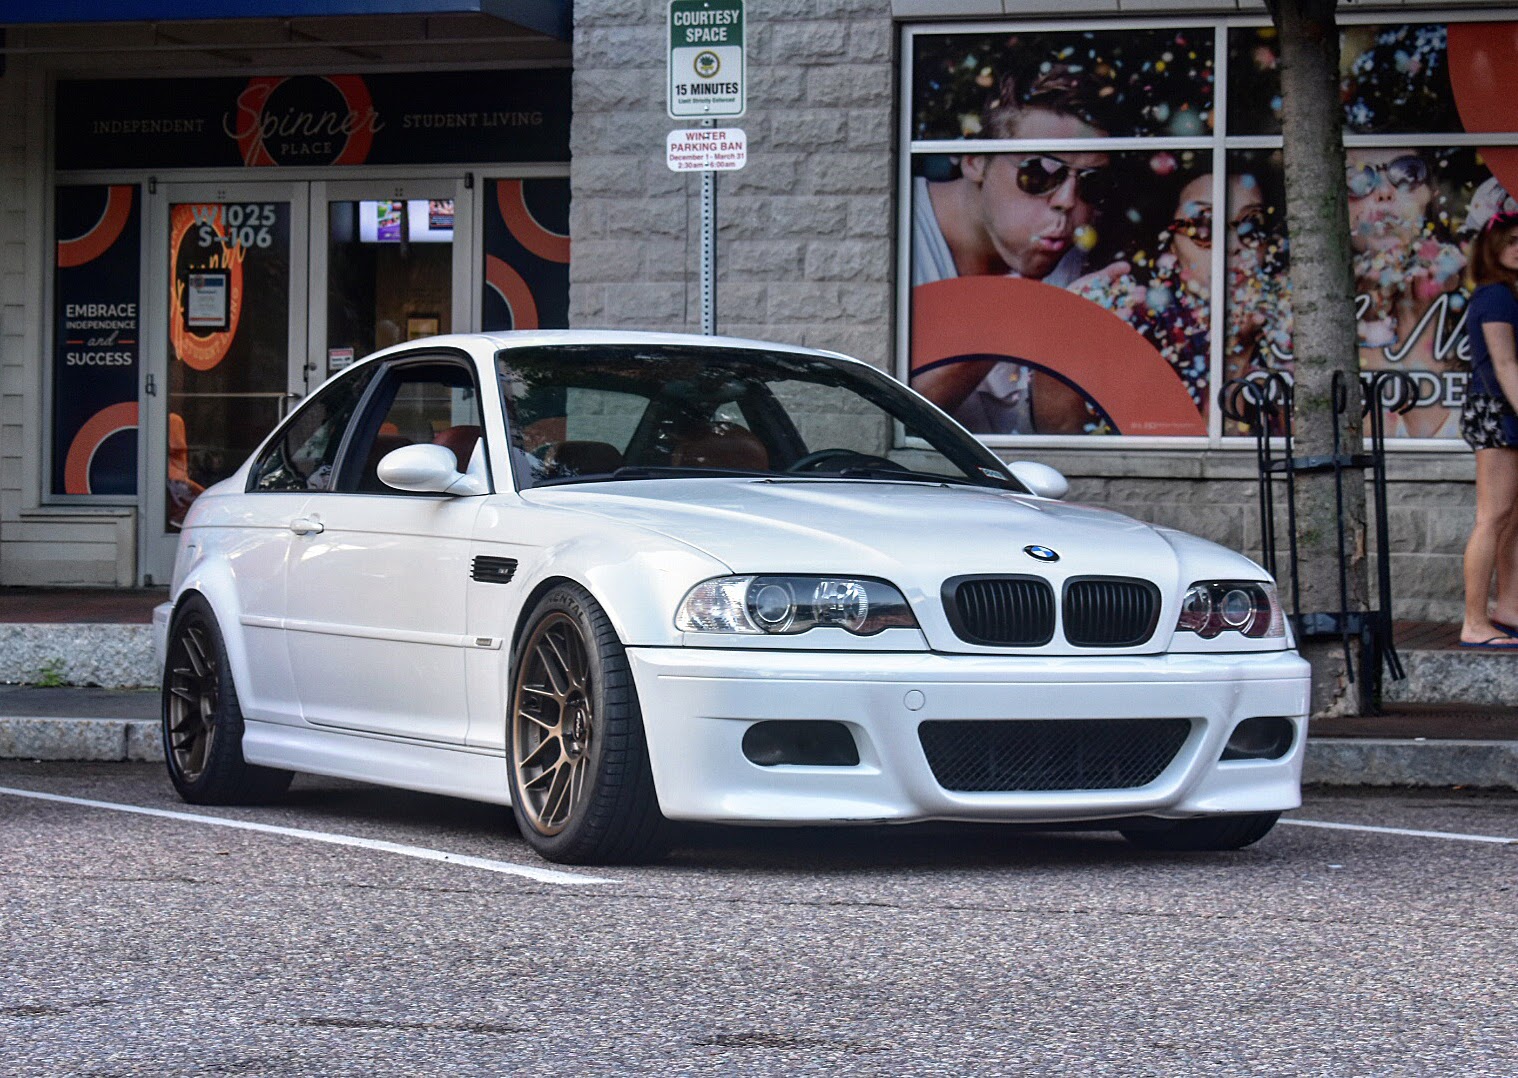
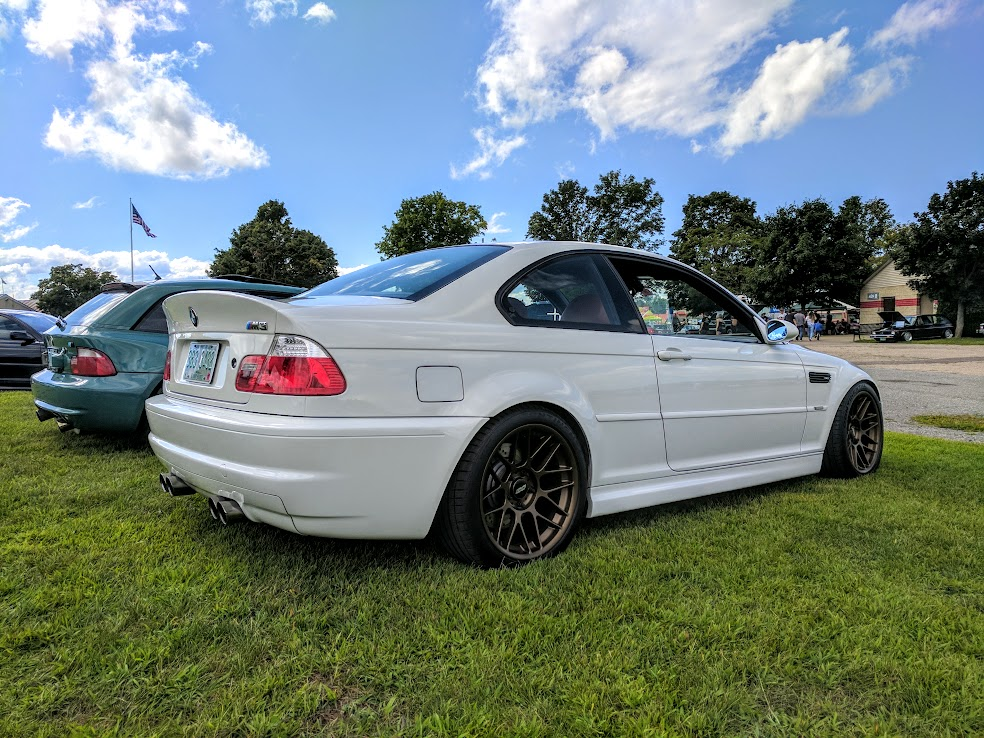
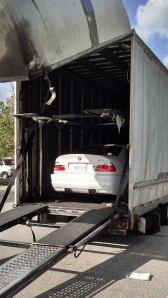
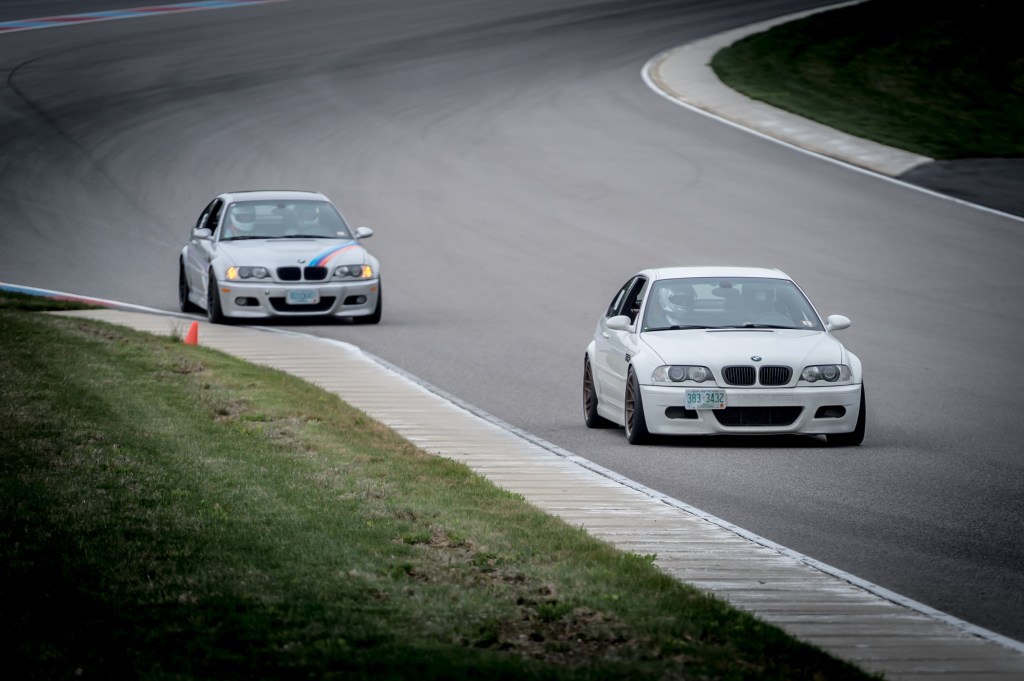
The story of this car starts in 2014, searching for about a year for the right one. In May of 2015 I found a 2006 model with the right color combination, that had been taken care of, and had tasteful modifications. It was shipped back from California:
Maintenance & Modifications
This section details an extensive list of maintenance performed on this car. Building off know-how learned on the BMW 325i, I continued learning about working on cars here, while also saving money doing the labor myself.
VANOS Fixes
The first major project on this car was to replace a few parts related to the variable valve timing system. This is a known weakness with this engine, and aftermarket parts are available to fix these issues for good. This system is known as VANOS, and is comprised of a hydraulic pump and individual actuators on the intake and exhaust cams. For each cam a piston pushes on a helical gear which changes the relative position of the cam to the gears. These gears are driven by the timing chain from the crankshaft.
The VANOS fixes include:
- Replacing bolts that secure the valve adjustment system to the cam shafts (stock bolts were not spec’d to the right strength)
- Replacing the solenoid pack with a rebuilt unit (additional epoxy to secure coils)
- Replacing seals with upgraded Viton seals
- Replacing pump disc with tighter tolerance holes (reduced vibration)
- Replace a preload ring (pre-loads needle bearings in adjustment gears)
- Replacing the chain guide (usual wear)
There were a few interesting parts to this job. One is the seals used in this design. They are a Viton o-ring seated in the bottom of a groove, followed by a Teflon seal on top:

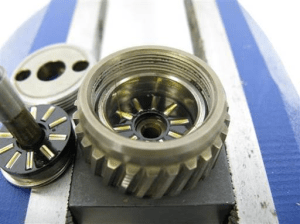
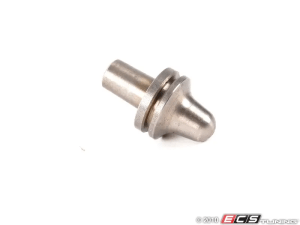
The helical gears which cause the relative, rotational movement between the cam and timing chain include needle bearings. The preload on these was not sufficient from the factory, so a replacement ring ground to precise tolerances increases the pre-load and prevents vibration:
https://beisansystems.com/s54-vanos-rattle-procedure/
To tighten the cam shaft bolts to their torque spec, it required a claw-foot wrench, on an extension. Notably the the claw-foot must be perpendicular to the torque wrench for the torque wrench setting to be accurate:

After all the replacement parts go in, the cams need to be timed, which requires this special rental tool. The pin slips into a hole in the cam shafts to align them to the cylinder head:

https://beisansystems.com/s54-vanos-rattle-procedure/
Finally, the engine is started with a laptop connected, running software from BMW. This software runs the engine through various RPM ranges and valve timing. It “learns” the system, saving timing parameters to memory, thereby tuning the VANOS.
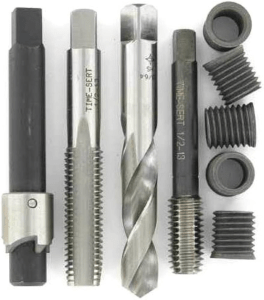
The job did not go perfectly though. One bolt that secures the VANOS assembly to the aluminum cylinder head stripped. To repair this, a Time-Cert kit was used, which I highly recommend. These are solid inserts as opposed to the wire coil style used in Heli-Coil kits:
Clutch & Shift Linkage Upgrade
Another involved job was replacing the clutch and upgrading the shifter linkage to an aftermarket kit. This aftermarket kit provides a short shifter throw, and is created with more precise parts for less play.
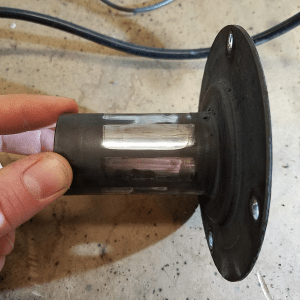
Many of the shifter linkage parts were worn, causing a “clicky” clutch pedal feel. The guide sleeve for the throw out bearing had deep grooves worn in it:
The plastic pivot pin which the clutch fork pivots on was severely worn down, so this was replaced with a steel upgrade:
https://www.ecstuning.com/b-genuine-bmw-parts/clutch-fork-pivot-pin-priced-each/21511223281/
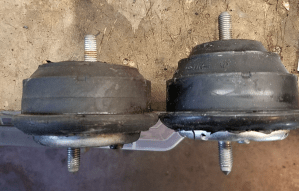
The engine mounts were replaced at the same time, which showed extensive compression:
The pilot bearing, transmission input seal, transmission shifter detents, and throw out bearing, clutch fork, flywheel, pressure plate where also replaced at this time.
Starter Replacement
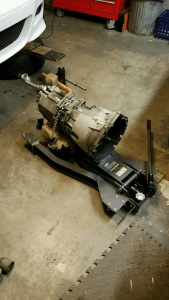
Interestingly, the starter in this car can be replaced from the top of the engine bay – provided you have the right tools. Using a ridiculously long ratchet, you can reach up behind the transmission bell housing to reach the bolts that secure the starter.

https://www.harborfreight.com/hand-tools/sockets-ratchets/38-in-drive-t-bar-with-flexible-ratchet-57175.html
Poking out in the back of the this image (below) you can see the end of the ratchet:

Exhaust Upgrades
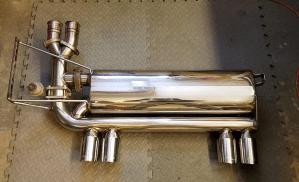
For better flow and sound, a number of the exhaust components were upgraded. The muffler was upgraded with an aftermarket part which includes a vacuum actuated valve. The valve diverts the exhaust flow through the muffler canister, or bypasses the muffler, allowing in cabin control of the volume of the exhaust.
To install, a vacuum line was run back from the intake plenum to provide a vacuum source. A 12V solenoid was mounted in the rear to switch the vacuum, and a toggle switch was placed in the cigarette tray in the dash providing a discrete installation.
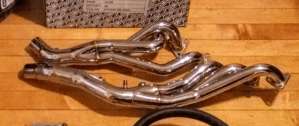
Aftermarket headers were installed to provide better flow, which moves the catalytic converters further down in the exhaust path:
Misc. Maintenance
- Brake pads, guide bushings
- Driveshaft flex coupler, center support bearing
- Front shock tower reinforcements, rear shock mounts, rear spring perch reinforcements
- Steering wheel replacement (worn material)
- Cooling Overhaul (coolant hoses, water pump, thermostat)
- Rear Window Seals
Track Driving
I attended a two day driving event with an instructor. This track was absolutely incredible: “15 turns, over 2.5 miles, with an elevation change of 250 feet”. The track is carved into the side of a mountain. Four track sessions per day, at about 20mins each.
The front straight was 120mph+, feet away from the concrete barrier. Out of turn 15 in 3rd, the S54 was screaming at 8000rpm. Shift light in the corner of my eye, and into 4th.
I learned so much about handling the car at its limits, how to adjust tire pressure, and how much of a physical and mental toll it takes to drive like this. After two days I was completely drained.
I even had a spin out which luckily stayed on the pavement – just off the painted lines of the track. Realizing too late I was coming in hot, I lifted throttle too quickly on an off camber, downhill turn which caused the rears to lose traction.
The change in tire pressure was surprising. Started the first day with normal street pressure of 30psi. After two sessions the pressure was up at 41psi afterwards, which contributed to the spin out mentioned above. Later, we determined a starting tire pressure of 26psi cold. After coming off the track, the tires would be at about 35psi hot. During the second day, we had to start taking an occasional cool down lap during the session as I was hitting the limits of the PS4’s and could feel them getting slick.
The car normally achieves about 19mpg. Driving at race conditions, it averaged 6mpg.

https://clubmotorsports.com/

It took a good 20mins to hike up to this spot from the paddock

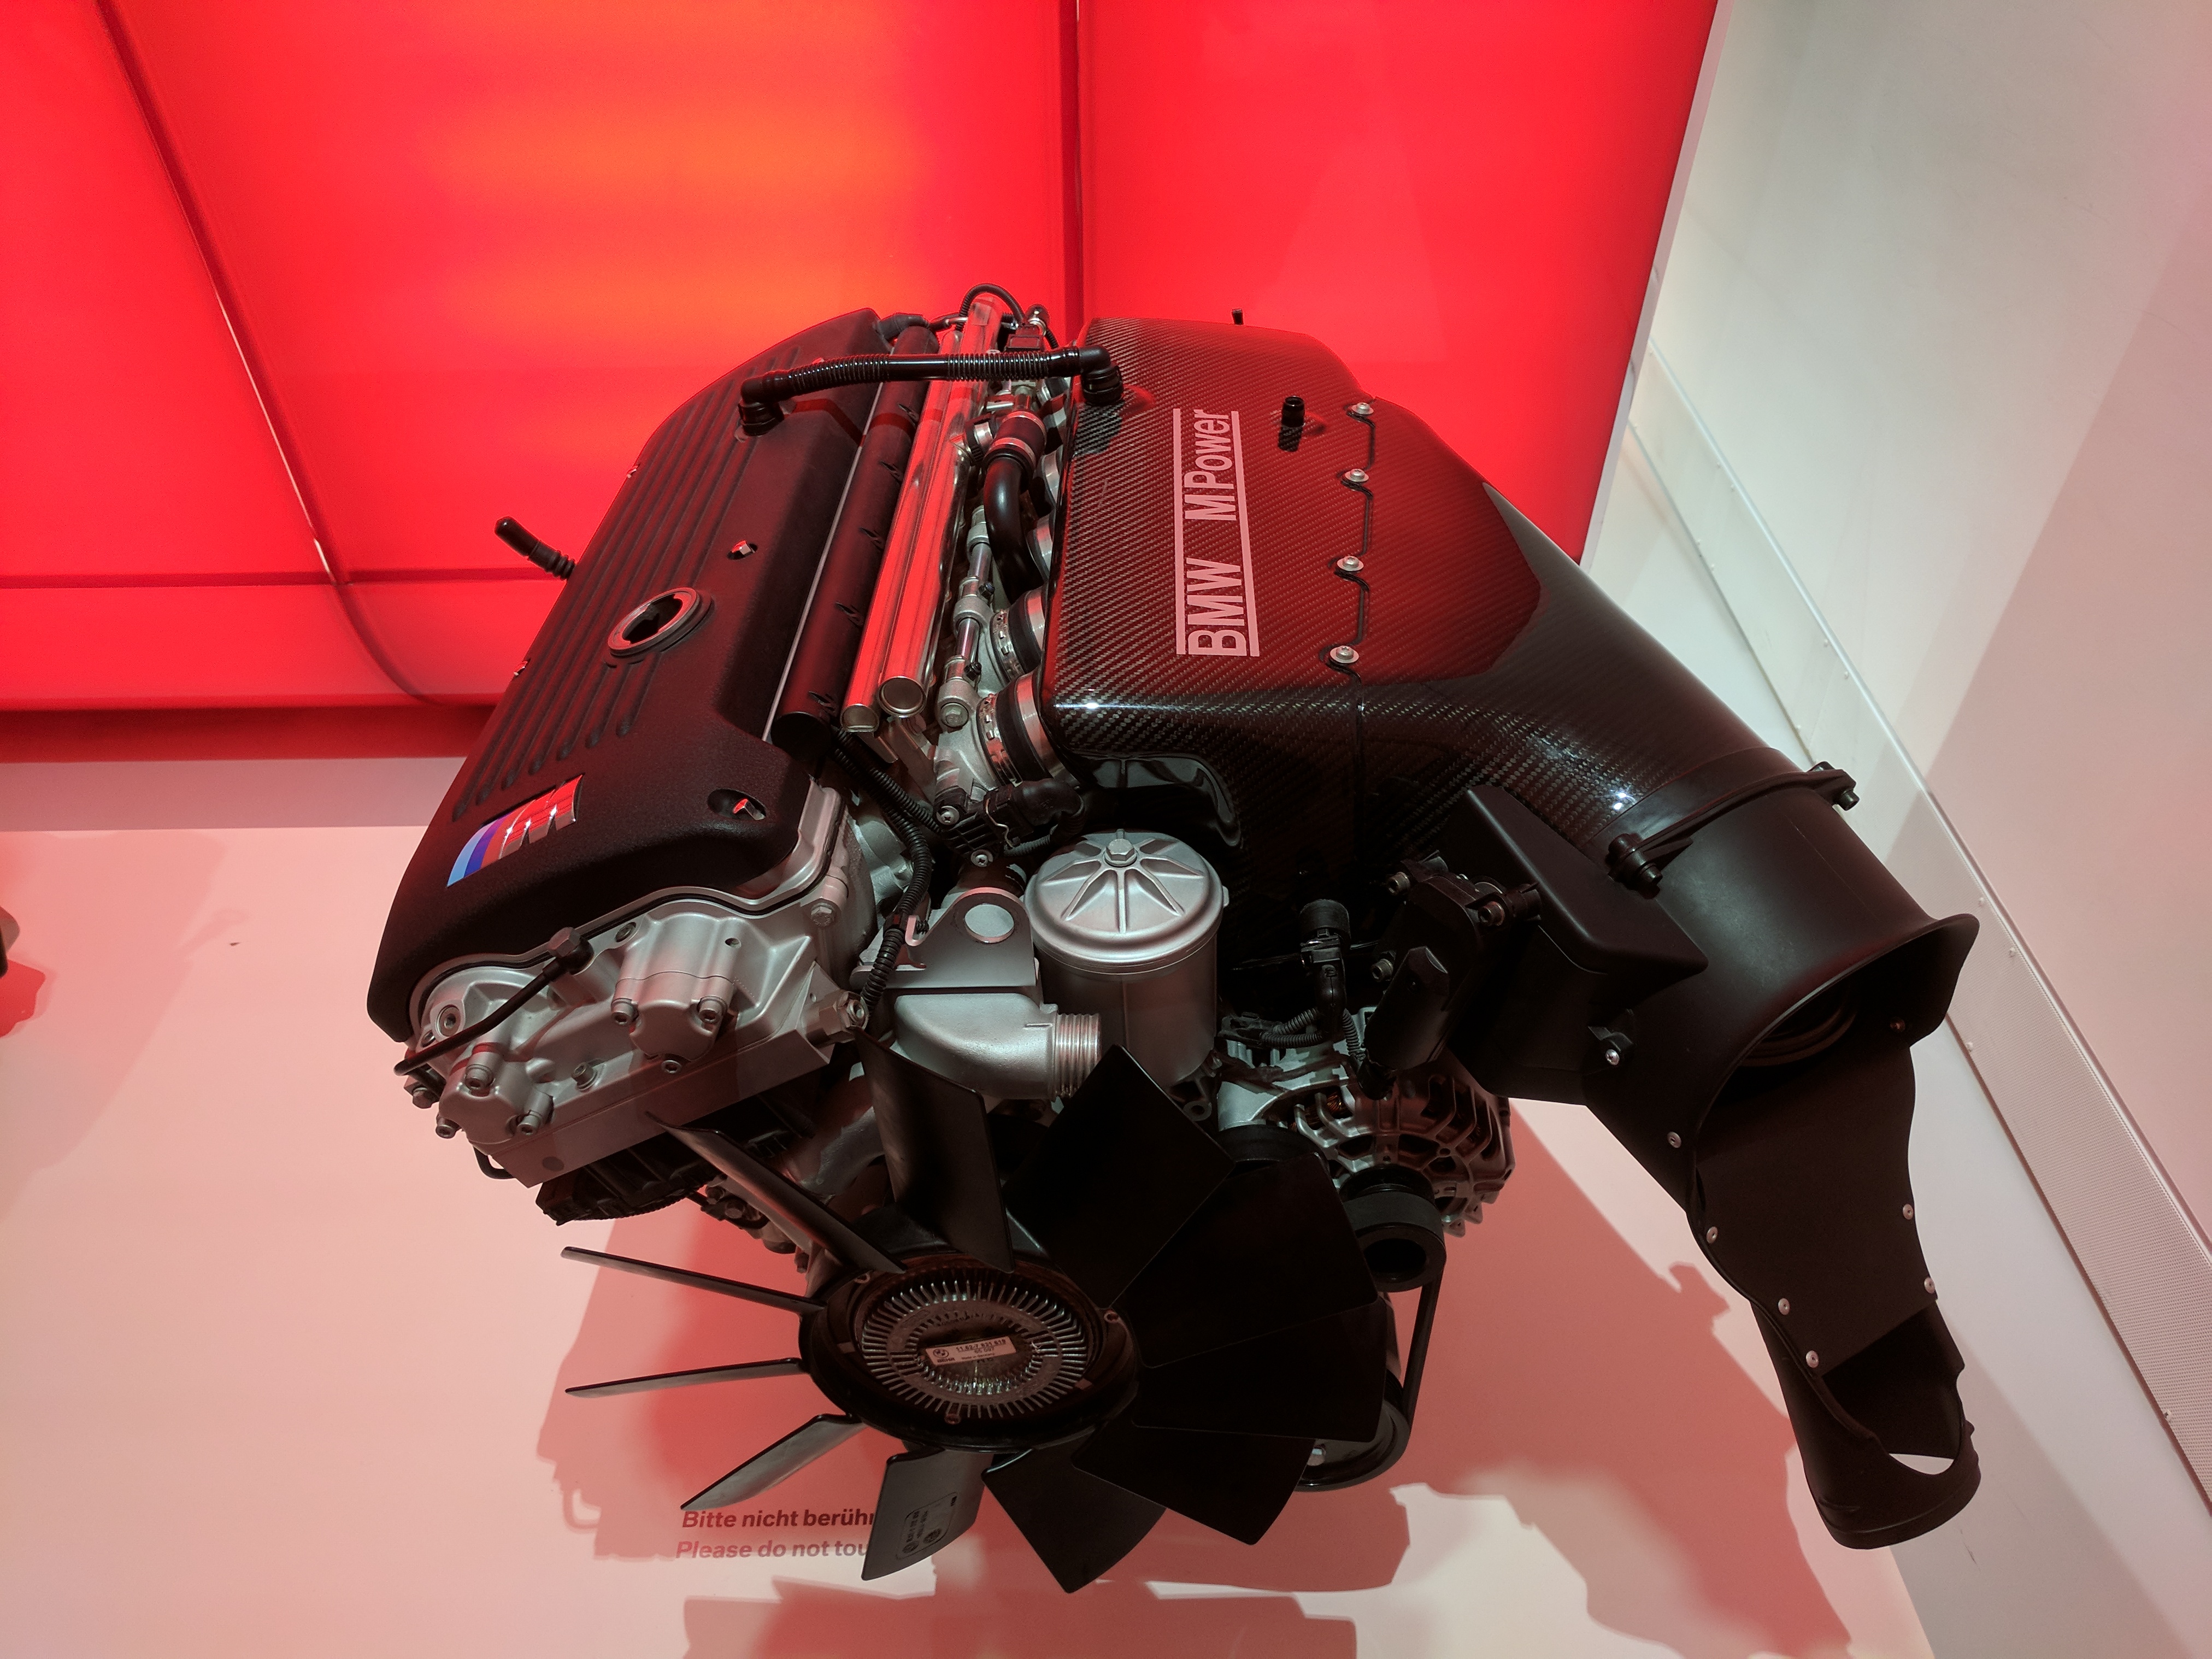
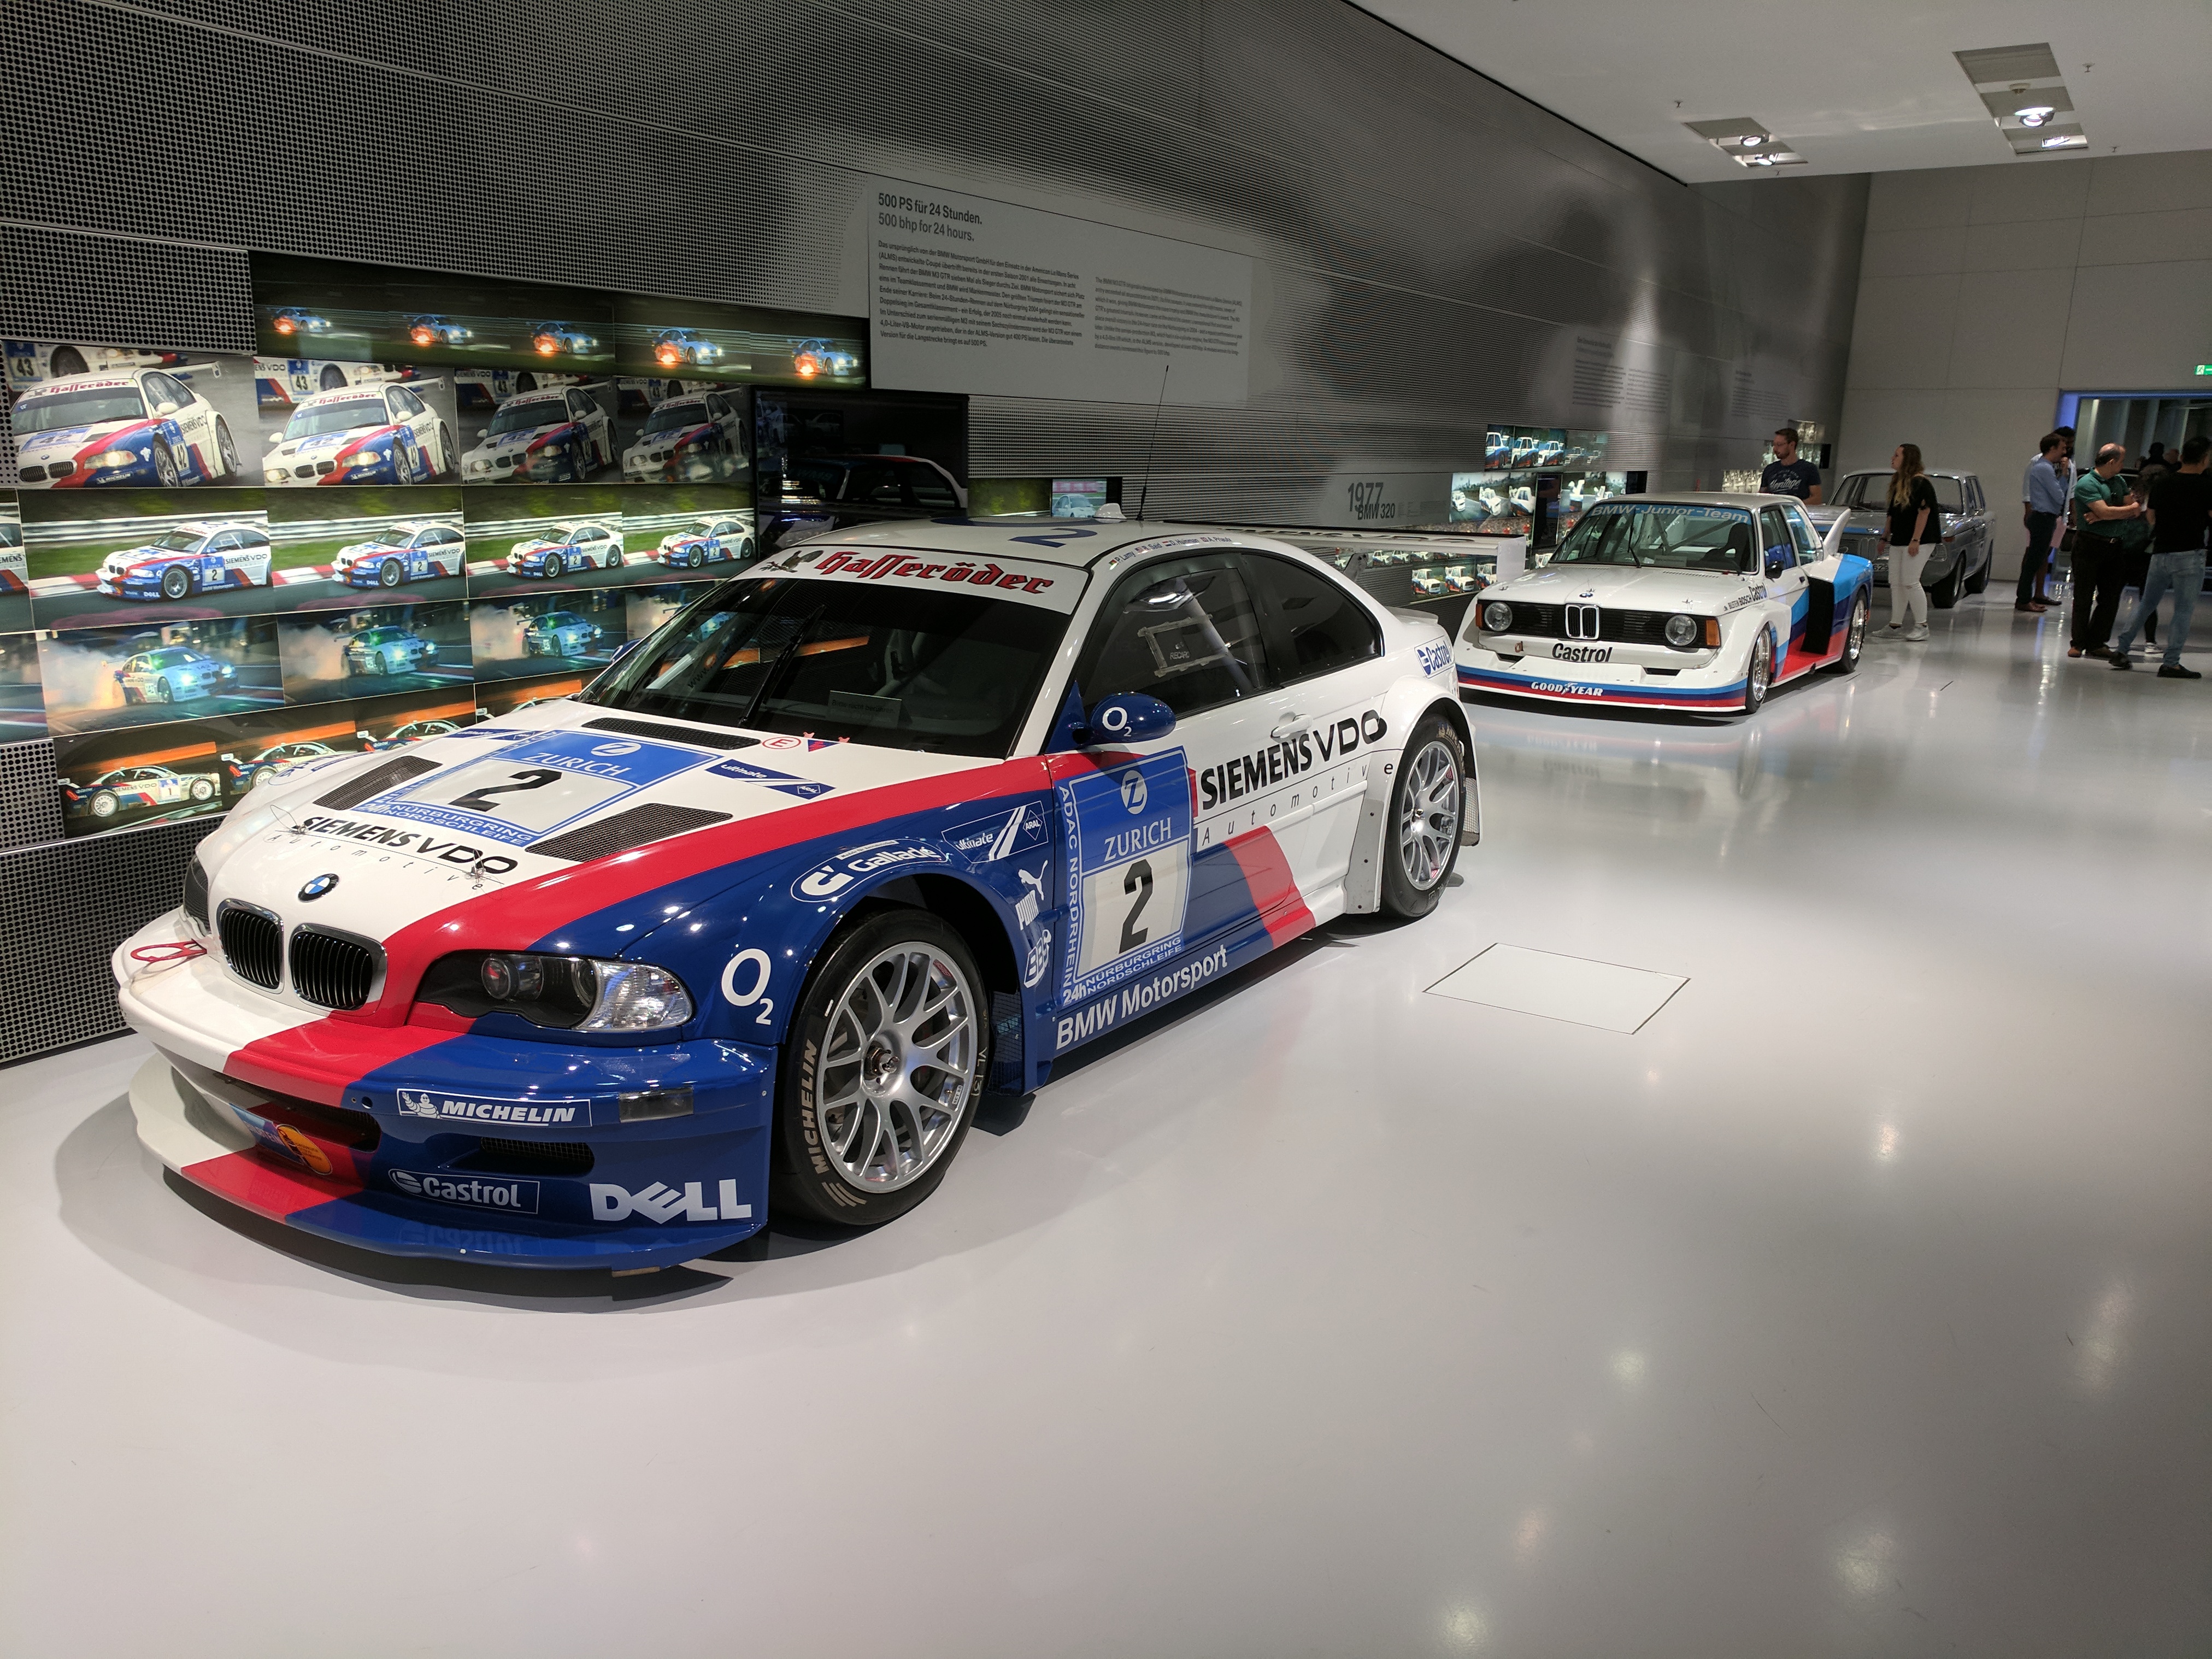
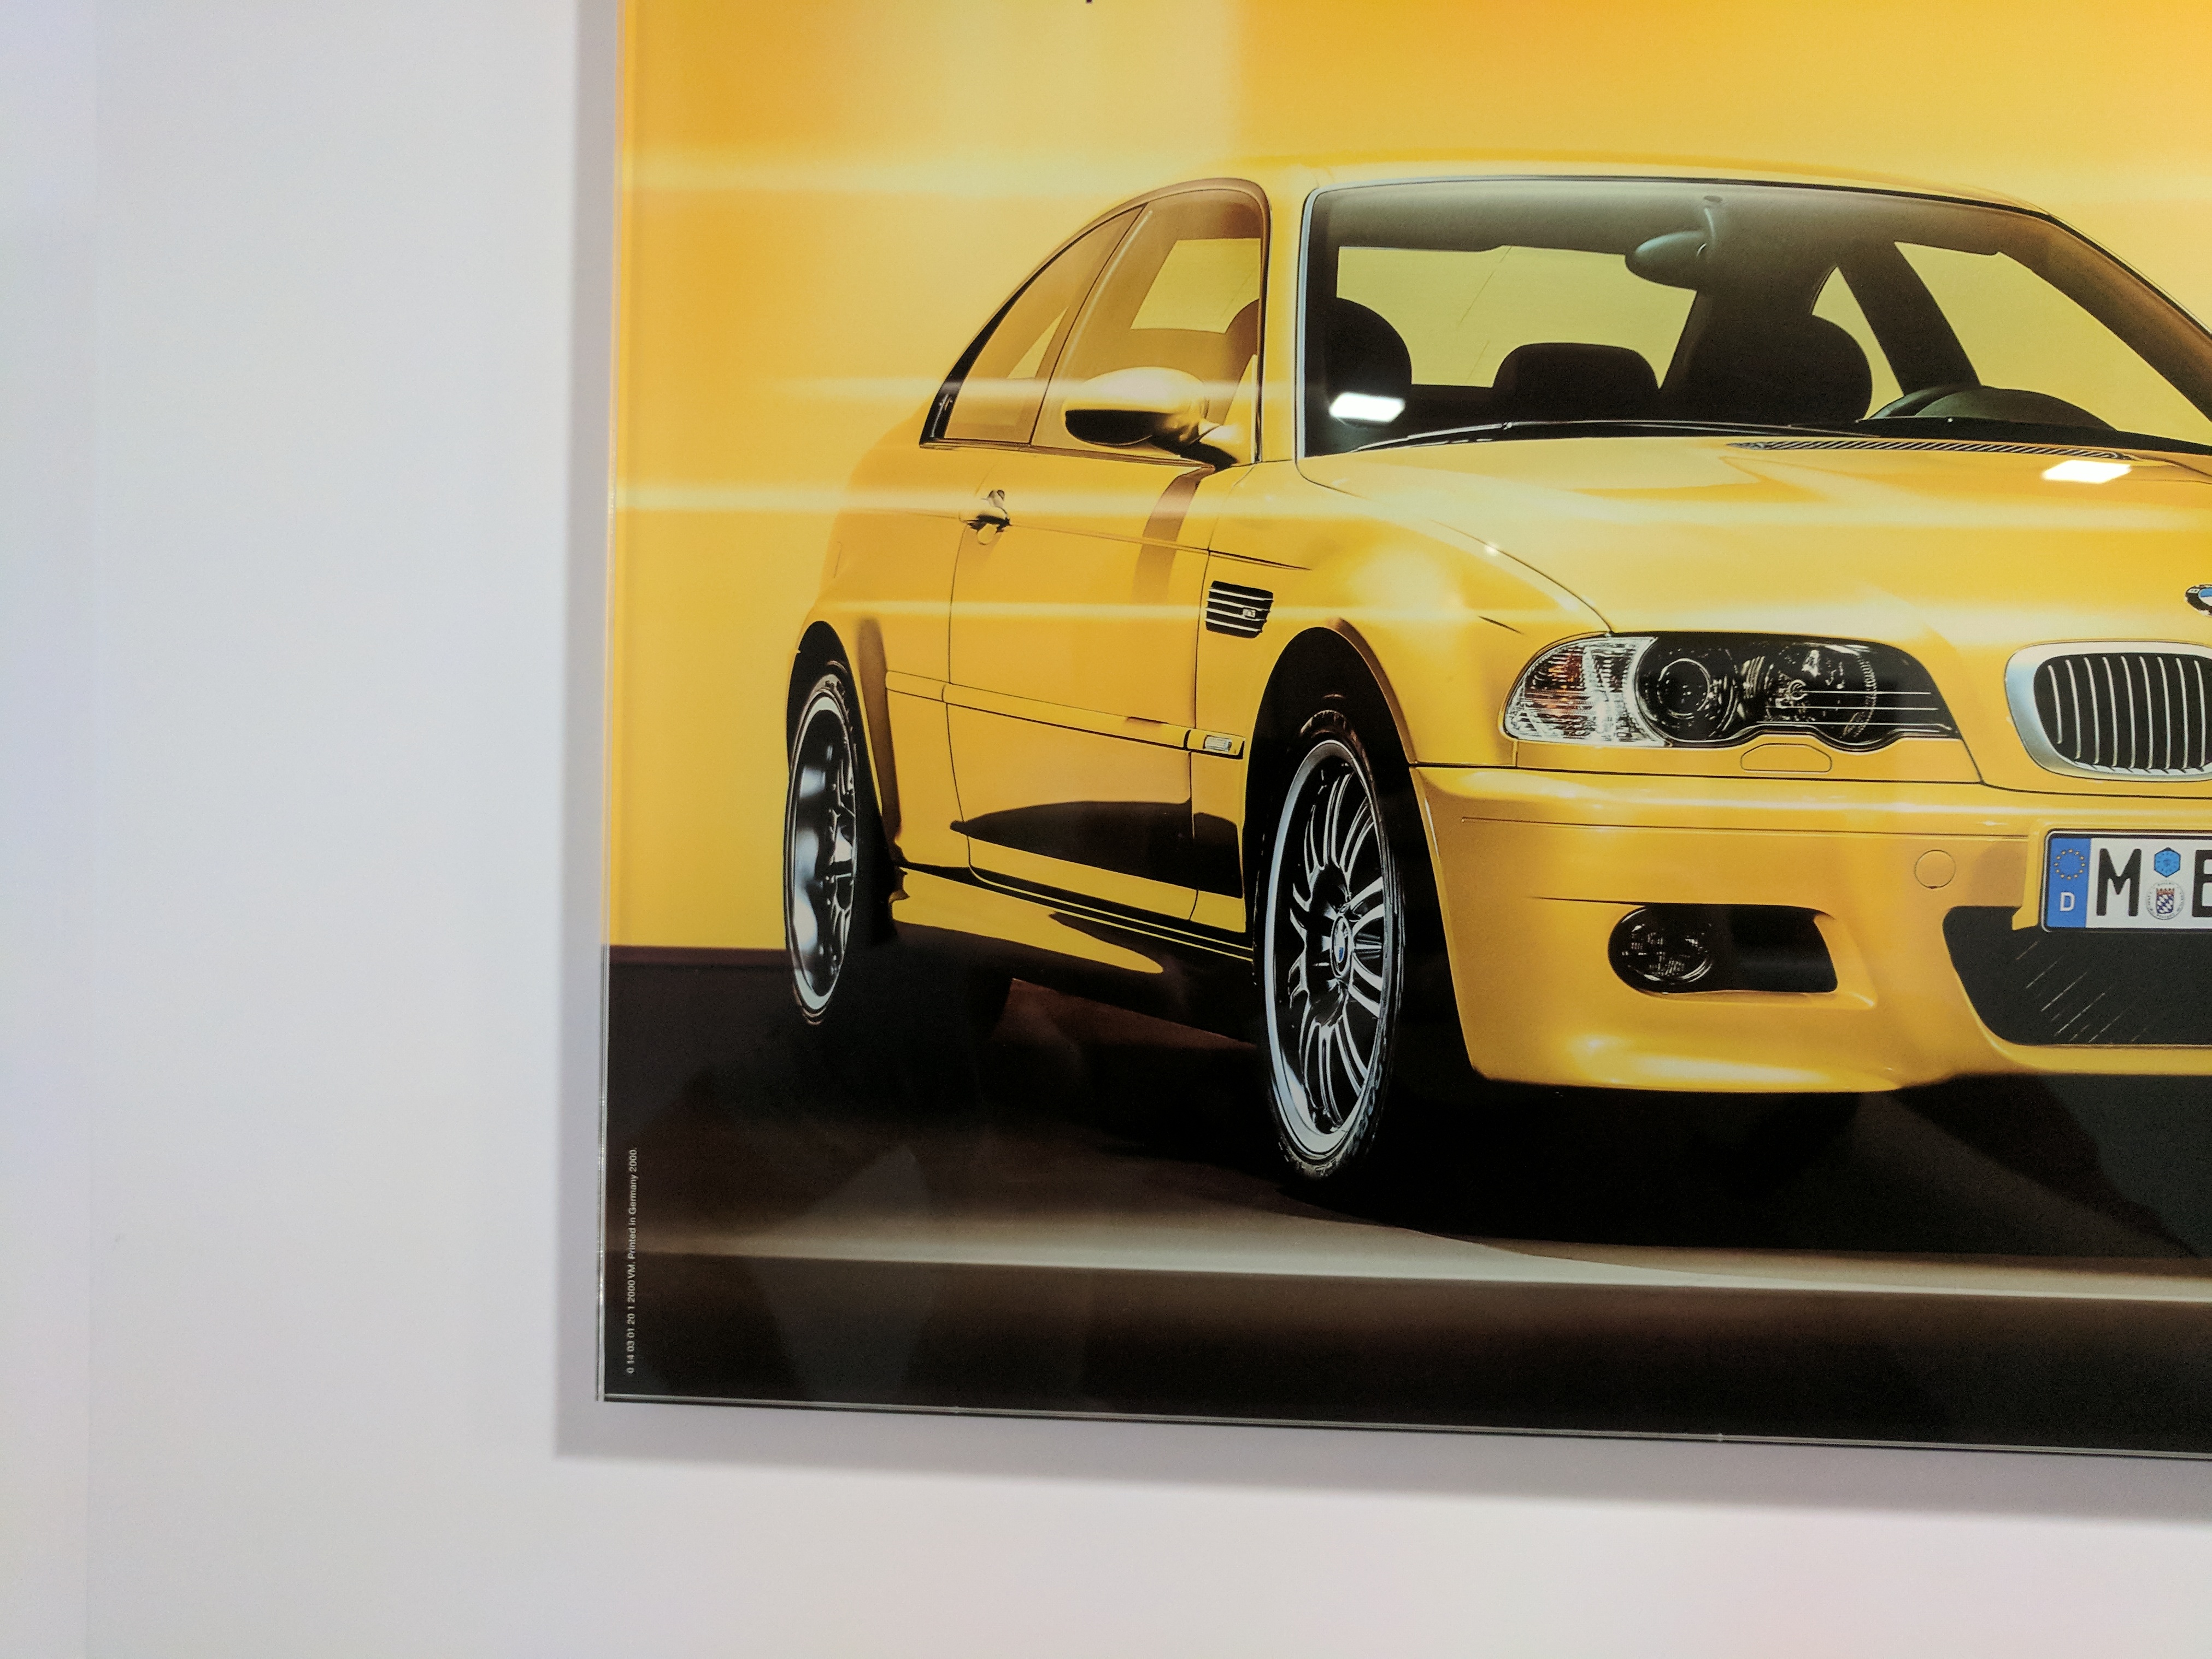
BMW Museum in Munich, Germany
While not work I performed on this car, a great experience was to travel to the BMW Museum in Munich. A few select pictures related to this car are shown below:

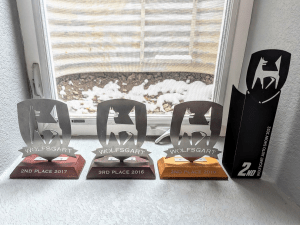
Awards
The car has won a few awards at the Wolfgart Auto Show in Burlington, VT. This is a multi-day event each year, showcasing European vehicles of all vintages. The awards are a nice recognition of the work I’ve put into the car over the years: